NEW!
(Now Shipping)
$39 (includes US Shipping)
Press to Purchase

Rotax 912S -
Zenith CH 750
Engine Installation Video
|
NEW! $39 (includes US Shipping) |
Rotax 912S -
Zenith CH 750 |
|
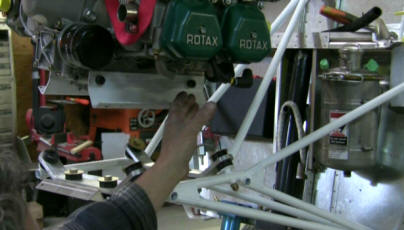
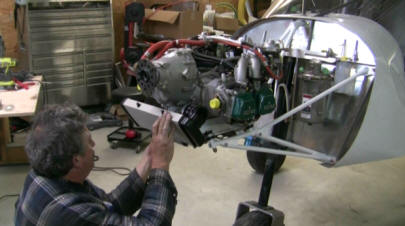
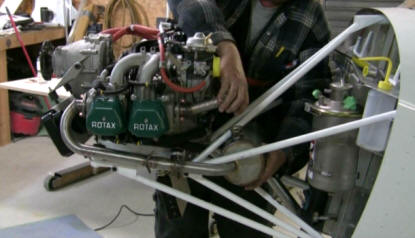
This video removes the guesswork from building a reliable installation of a Rotax 912 engine in your Zenith Ch 750 - demonstrated by Mark Townsend at Can-zac Aviation For those experimental aircraft
builders that are considering the use of a Rotax 912 aircraft engine in their
Zenith CH750 homebuilt - please read on! This video was filmed on location at
Can-zac Aviation, Ontaio, Canada, under the direction of Mark Townsend,
the Canadian Zenith distributor. The purpose of this presentation is to
demonstrate how to install the popular 912
engine on a Zenith Ch 750 homebuilt kit using the firewall forward components
supplied by Zenith Aircraft. The Rotax 912S provides an exciting alternative
to other engine possibilities in this aircraft. With this video DVD, you
can watch and learn how to install and hookup the components needed for
a reliable installation.
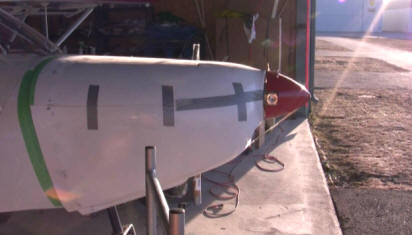
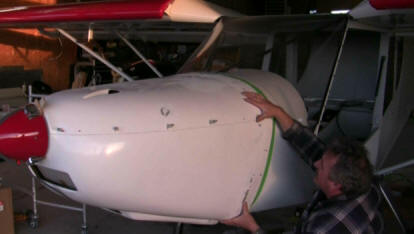
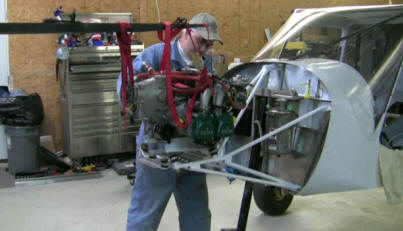
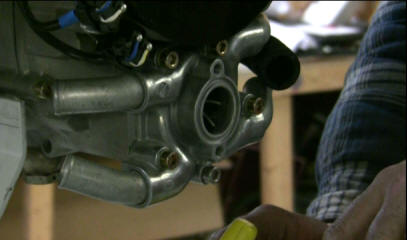
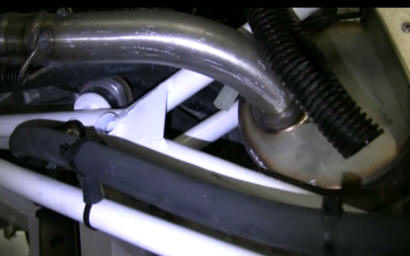
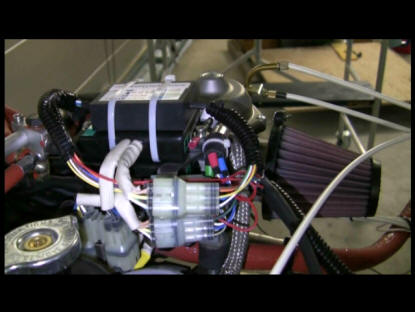
Engine Mounting techniques Observe and understand special considerations for mounting the engine on the 750 airframe. Techniques for drilling and aligning the mounting hardware is shown. Water pump outlet alignment The water pump outlet on the engine may have to be repositioned from its default location for proper routing of the cooling hoses. Careful heating of the housing is required to make this adjustment. This procedure is demonstrated. Oil and Water radiator installation Installation of the oil cooler and water radiator is shown with the requisite hose fittings and connections. Proper routing of the hoses is essential. Firewall components .Components that mount to the firewall are located and described on the video. These include the throttle mechanism, oil tank, recovery bottle, and battery. Also, suggestions for the fuel system components (gascolator) are made and show. Cowl The cowl is fitted to the aircraft with an explanation of the trimming process. This includes demonstrating the need for proper prop hub clearance and alignment.
This affordable DVD video is approximately 2 hours, 15 minutes in length and is divided into various video chapters to make navigation and review of desired sections fast and easy The $39 price includes handling and first class postage. (International orders welcome, air mail postage included!)
Here is a video snippet from the DVD:
|
|
|
|
|