Building a
Glass Panel
for Homebuilt
Aircraft
|
|
Building a
Glass Panel |
|
A 'glass' cockpit in your homebuilt is now an affordable reality! In just the last 5 years technology has advanced to the point that a homebuilder can now create a sophisticated instrument panel that was once only available on certified aircraft. These electronic display panels used to cost as much as our homebuilt aircraft. Today, the cost has dropped to the point that makes them competitive with the standard 'steam' gauges that we traditionally use. New functionality and greater safety in aircraft travel result from using these new instruments. The purpose of this video (DVD) is to
demonstrate the skills and planning process required in building a glass
panel for a homebuilt. Mark Townsend of Can-Zac Aviation, leads
the viewer, step by step from the planning stages through the actual
fabrication procedures and wiring for a combination glass/conventional
instrument panel to be used on one of his experimental aircraft.
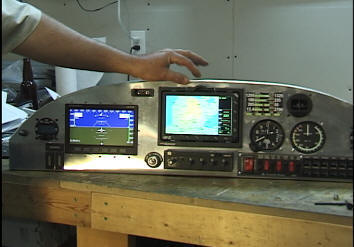
He explains each step of the process clearly with over the shoulder
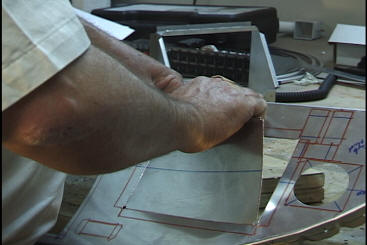
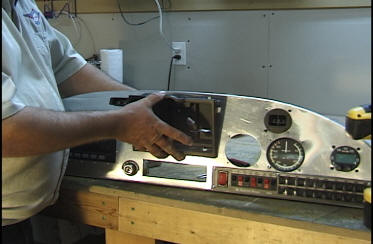
demonstrations. The start of the video begins with an uncut metal
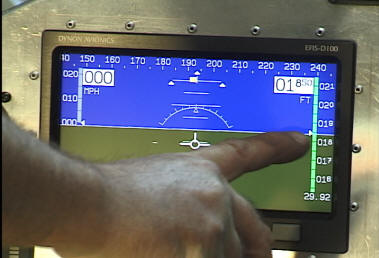
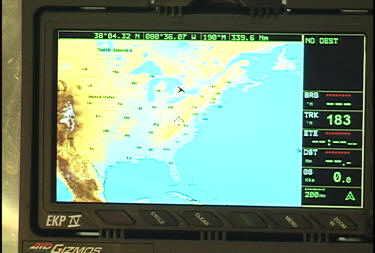
instrument panel and ends with a completed, functioning electronic glass
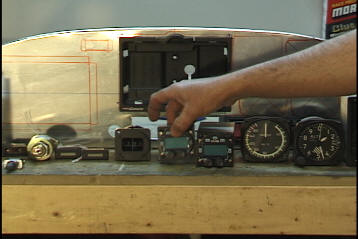
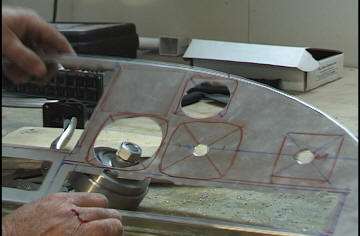
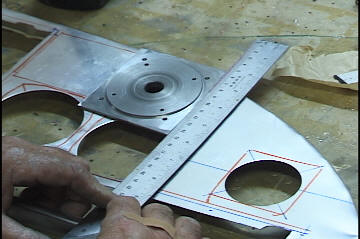
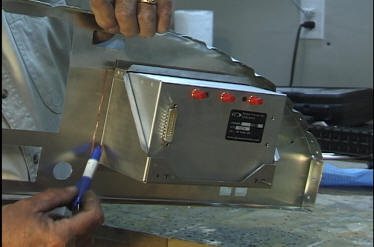
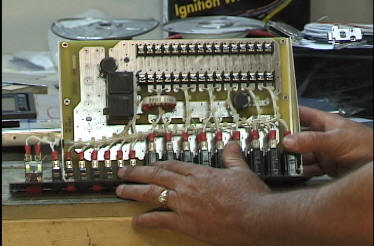
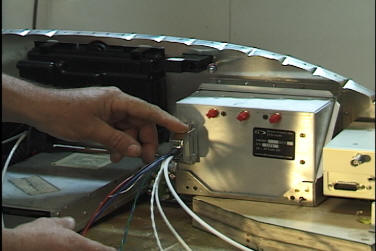
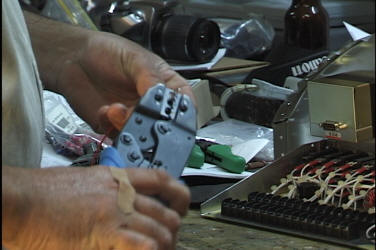
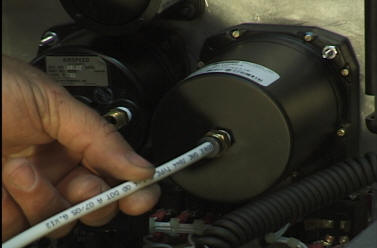
panel which includes a moving map and flight instruments. Design/Layout Considerations Electronic vs. Conventional Gauges What is the cost of the new glass display panels? What new functionality is possible over conventional? How to Cut Openings Observe step by step techniques for creating the circular openings for the conventional gauges - and the large rectangular openings for the display panels. Use of punches, knifes, files and nibblers for professional results is demonstrated. Wiring and plumbing instruments Wiring of the electronic panels is easy if pre-wired plugs are used. Demonstrations of wiring the pins on these plugs is shown. A pre-wired terminal/breaker/switch bus sub-panel is used to make things fast and easy. Even the new glass panels need air/static pressure lines for airspeed, altitude, etc and these are discussed and installed. Functionality and Redundancy This panel uses conventional gauges to 'back up' the functionality of the electronic panels.. however, keep in mind that the electronic panels already have their own internal batteries to protect against power failure... many things to consider when choosing the instruments to include in your panel.
There is no one best way to design an instrument panel - every pilot/designer has their own best way. But by observing the steps and procedures that were taken to create the panel in this video, you will gain the knowledge and confidence to consider building one of your own. The intimidation factor is removed once you see what is involved from start to finish. If you always wanted to build one of these for your aircraft, this DVD will allow you to decide whether to tackle the job yourself - or leave it to the pros. The more knowledge and ideas you can gain prior to tackling this job will help you to avoid mistakes on your own panel. Knowledge is power! This affordable video (DVD) video is approximately 1 hour 20 minutes in length and is divided into 5 video chapters to make navigation and review of desired sections fast and easy. Note: Now: Updated with a chapter on building glass panels for the Zenith CH750 aircraft. This popular DVD has been revised (May 10, 2010) to include a chapter devoted to designing and building a high-tech glass cockpit for the CH750 modeled after the panel used in the Zenith factory demonstrator aircraft.
Snippet from video
|
|
|
|
|