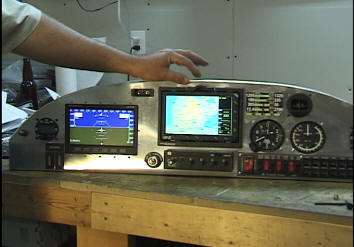
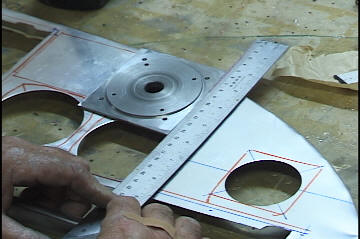
One of the
most challenging aspects of building your
homebuilt aircraft is designing the layout of
the instrument panel. lt seems every panel is
unique - everyone chooses the instruments they
like and creatively locate them on the
panel.
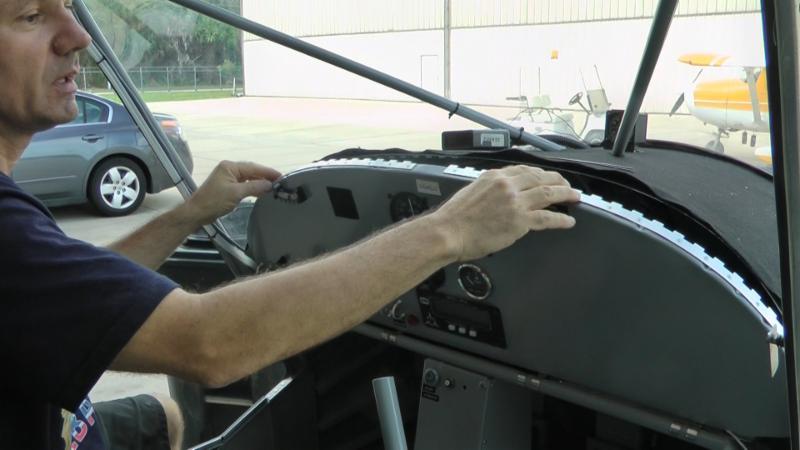
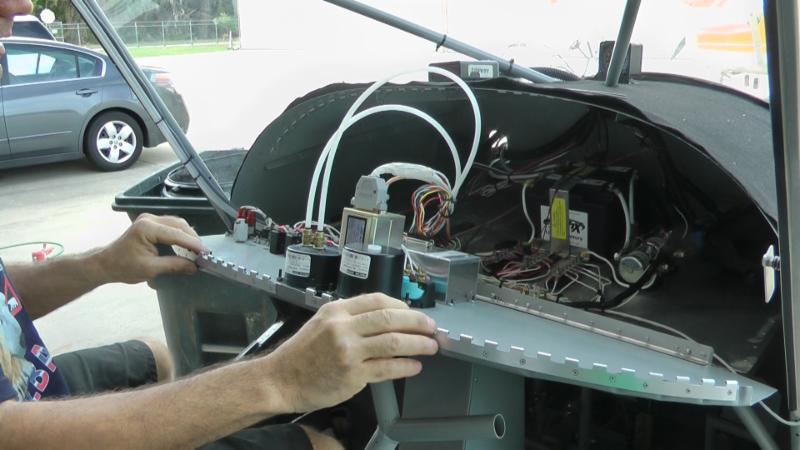
Once your
panel has been built, the instruments mounted on
and behind the panel - along with their wire
connections - are extremely difficult to reach.
This week's
Tip will demonstrate a
unique design that allows easy access to the
back of
your panel - a need that is often overlooked and
appreciated only after the first time you need
to make a repair, adjustment or alteration to
any instrument on or behind the
panel.
|